

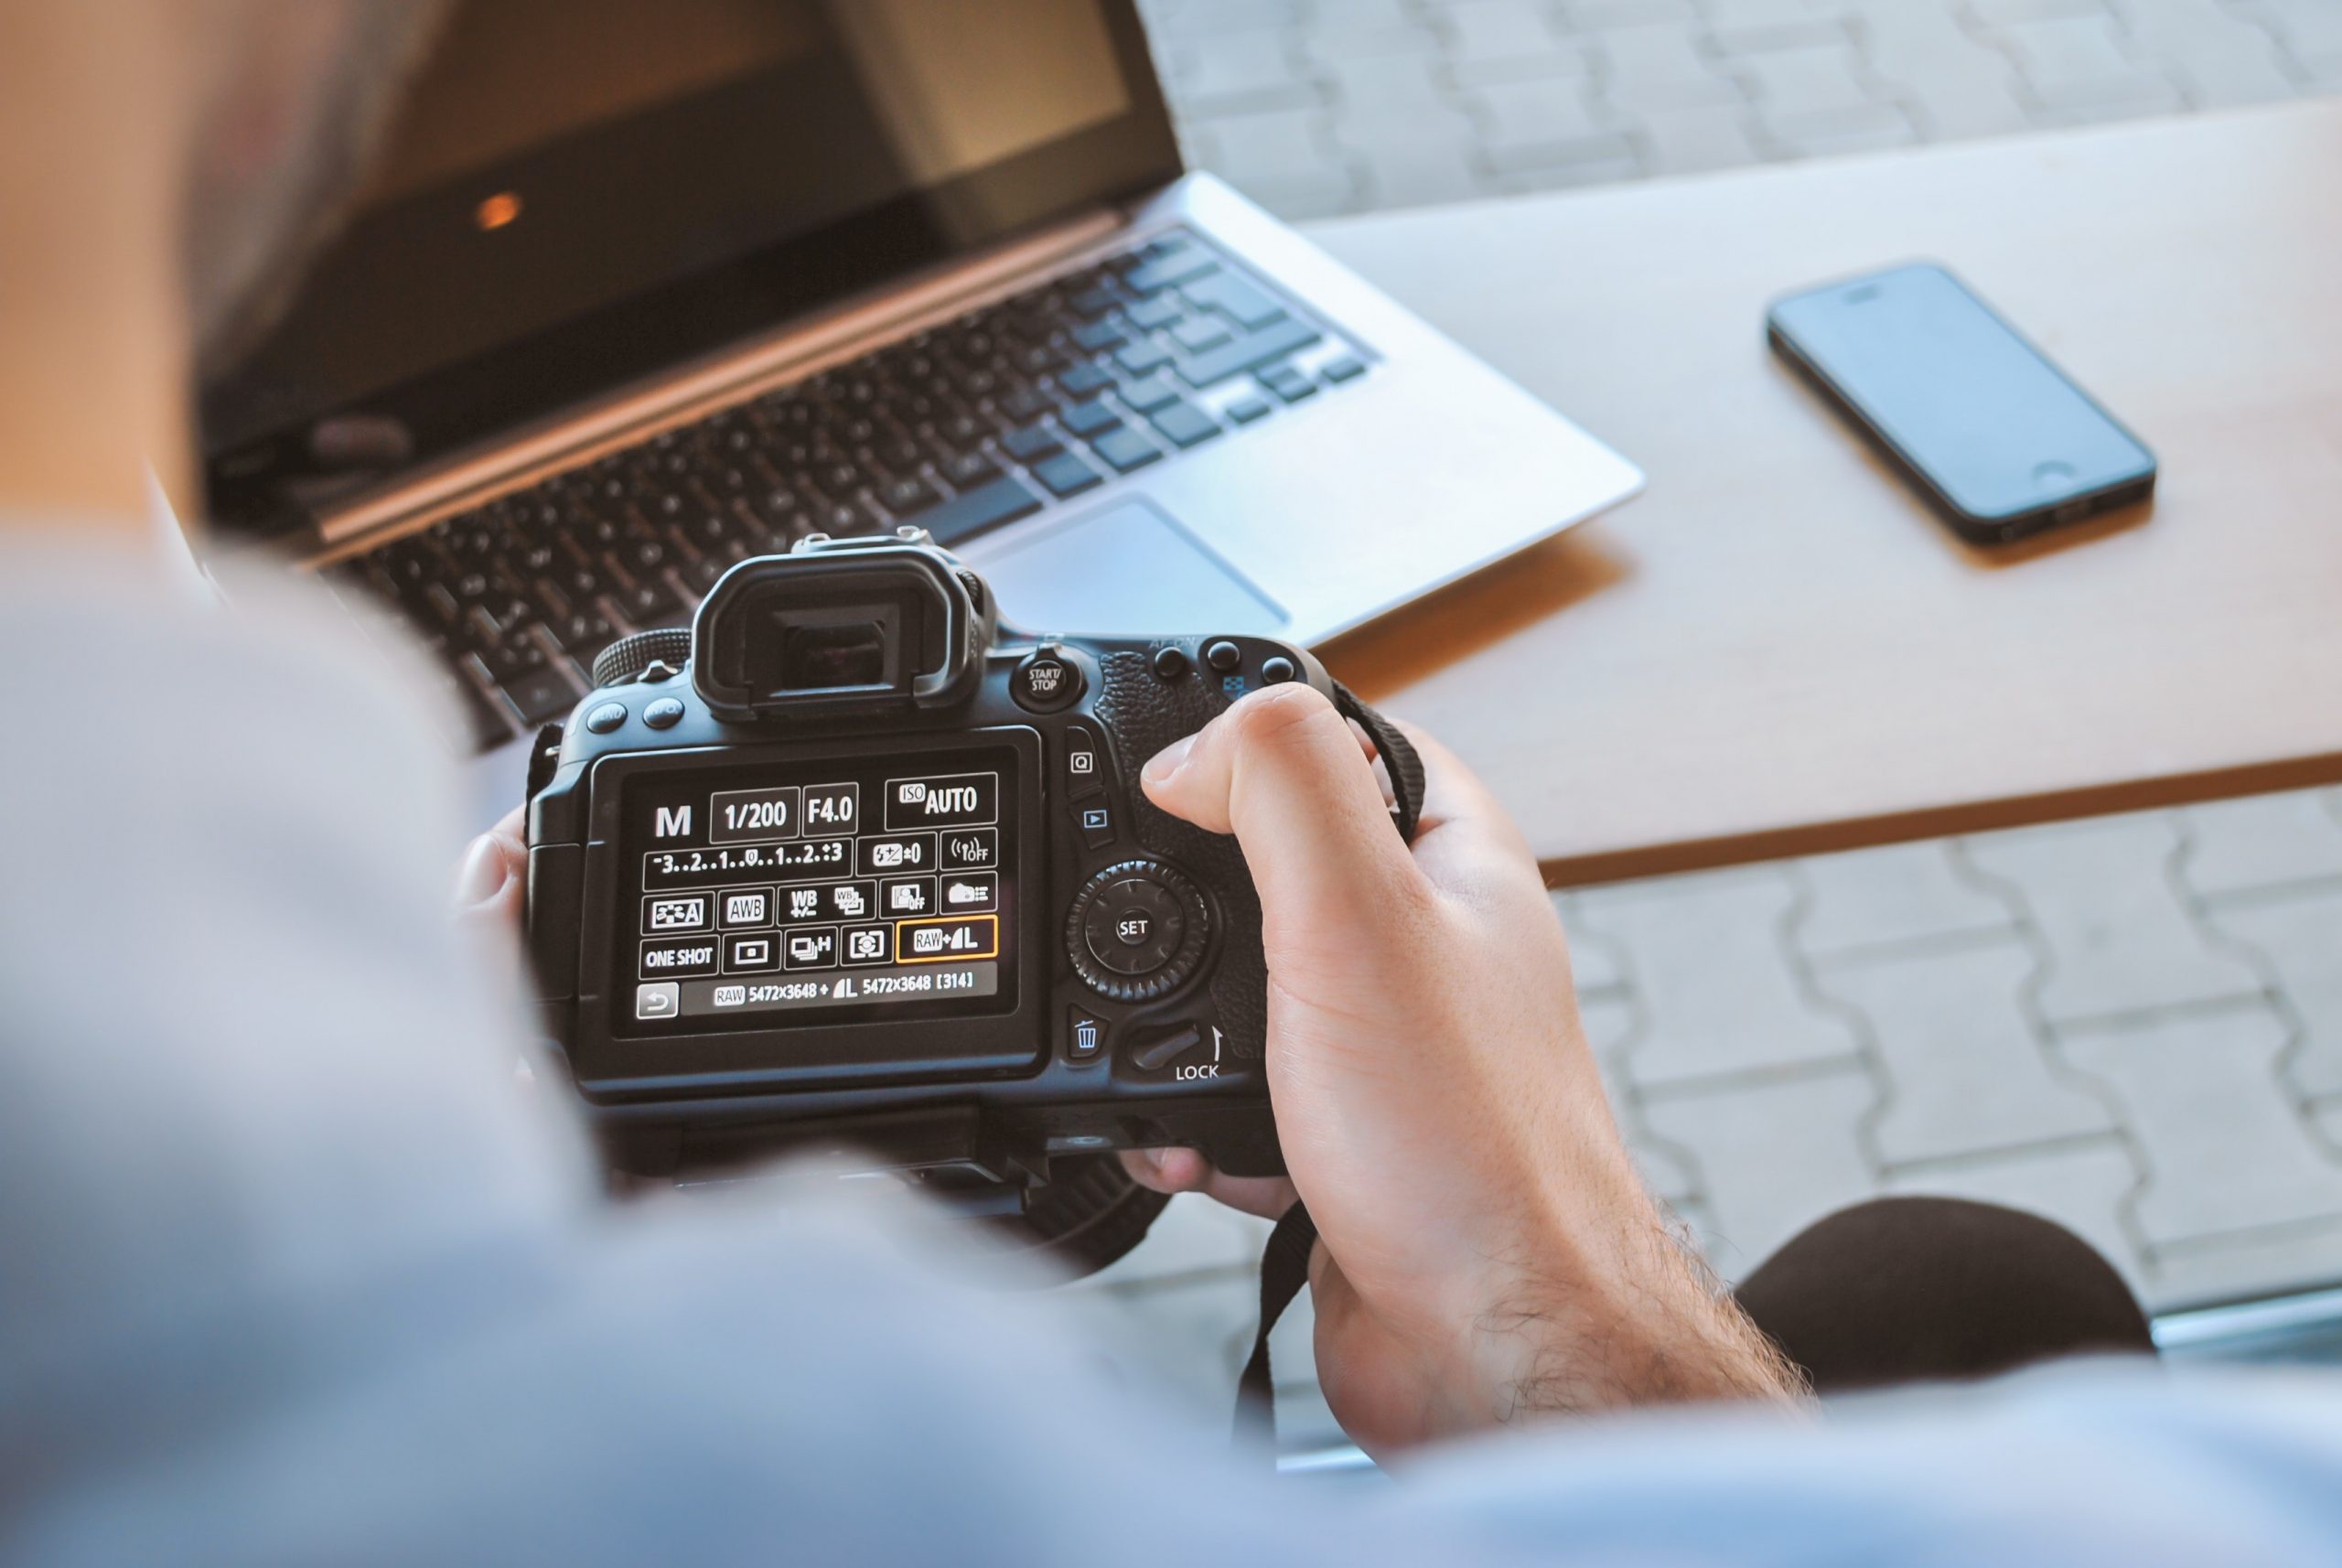
6 Tips for Using On-Camera Flash
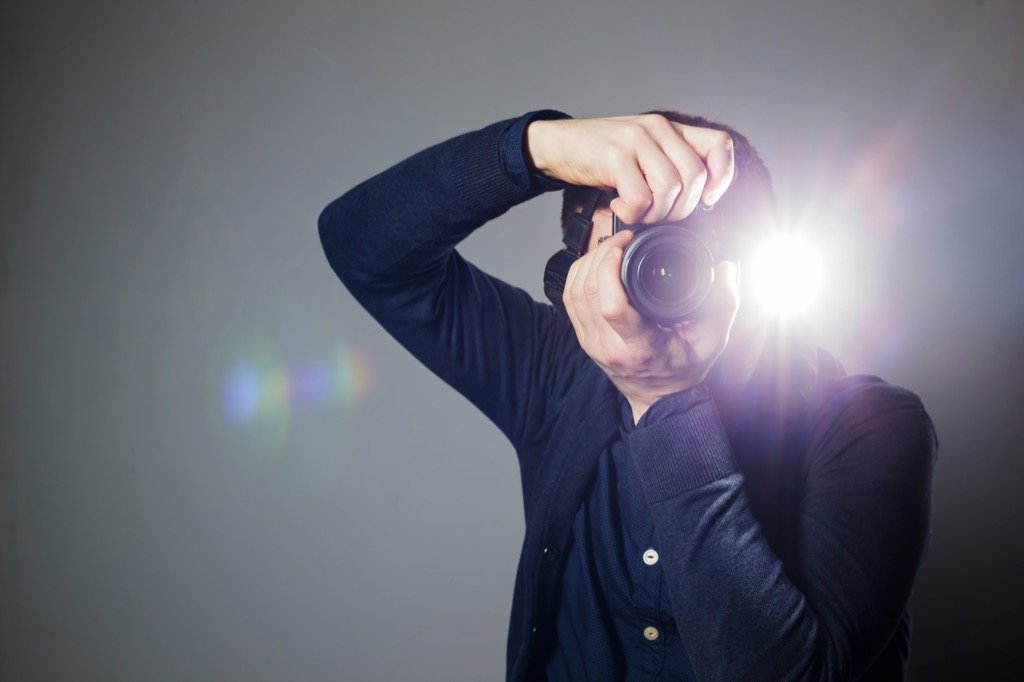
For me, personally, and for a lot of the photographers I know, we all love natural light. However, sometimes you will find that you just NEED to use a flash. For example, when shooting conditions are too dark or you just want to add to the existing ambient light. You can even use a flash creatively for some interesting effects.
While entire books have been written on the intricacies of flash, here are a few basic tips on how best to utilize your on-camera flash.

1. Read the Manual
I am all for experimentation when it comes to equipment, however, reading the user manual on your flash will make your life much, much easier. I really can’t stress this enough! The user manual will explain the various modes on your flash, which will help you decide which modes are best for your style of photography.
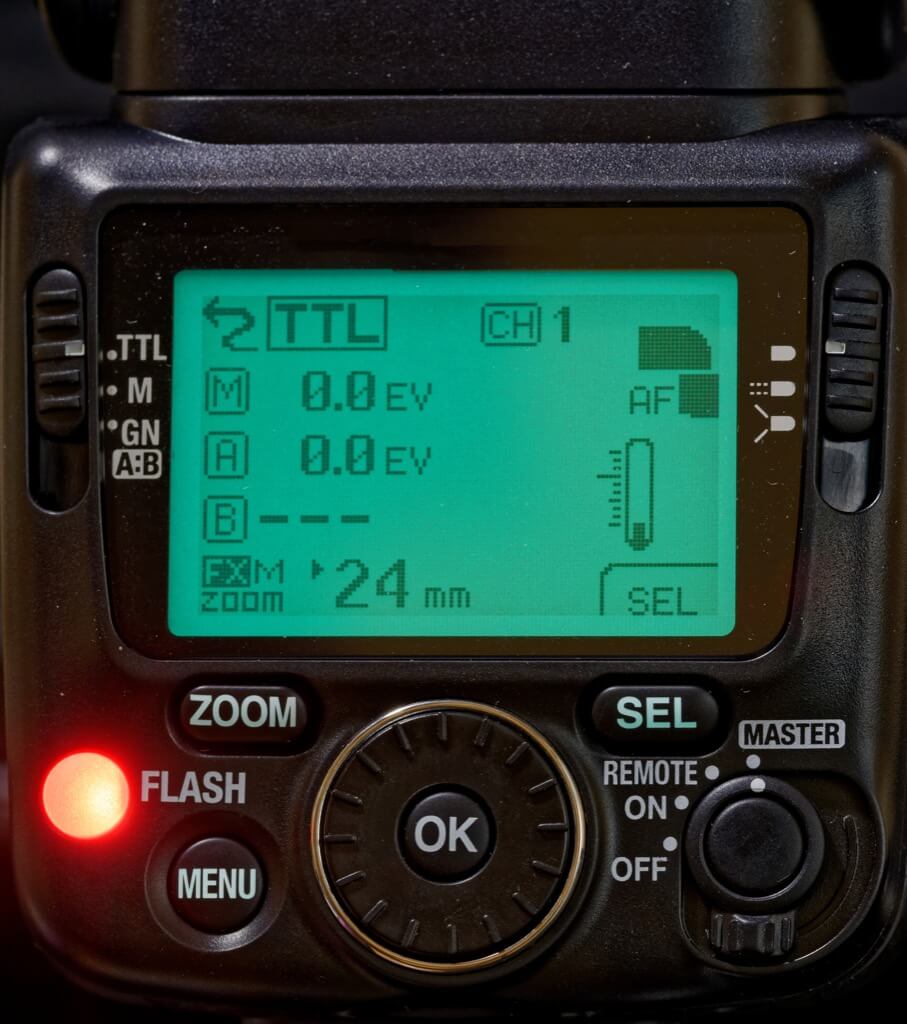
2. Use TTL Mode
TTL (short for “Through the Lens Mode) is a great mode to start with if you are brand new to flash. Basically, TTL is a metering system in which the lens and the camera work together to determine the correct amount of light from the flash to properly expose your subject.
TTL mode generally works very well to properly expose your subject, though, in some instances, for example, if your subject is too dark and there is a lot of ambient light, a proper exposure may not be achieved. But, as a rule of thumb, TTL is a great place to start.
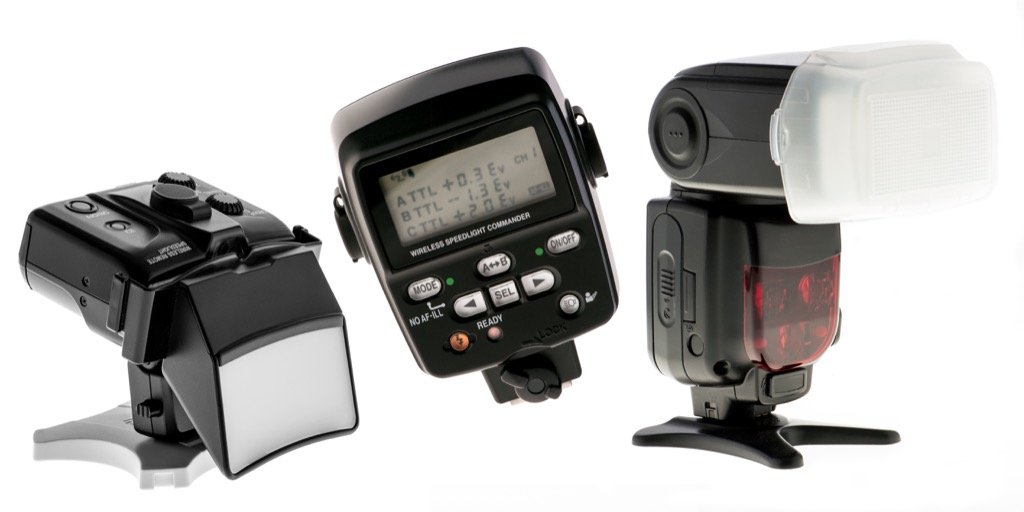
3. Diffuse the Light
Even if you do not have the strongest flash on the market, you may be surprised at just how much light your flash creates, especially in smaller spaces.
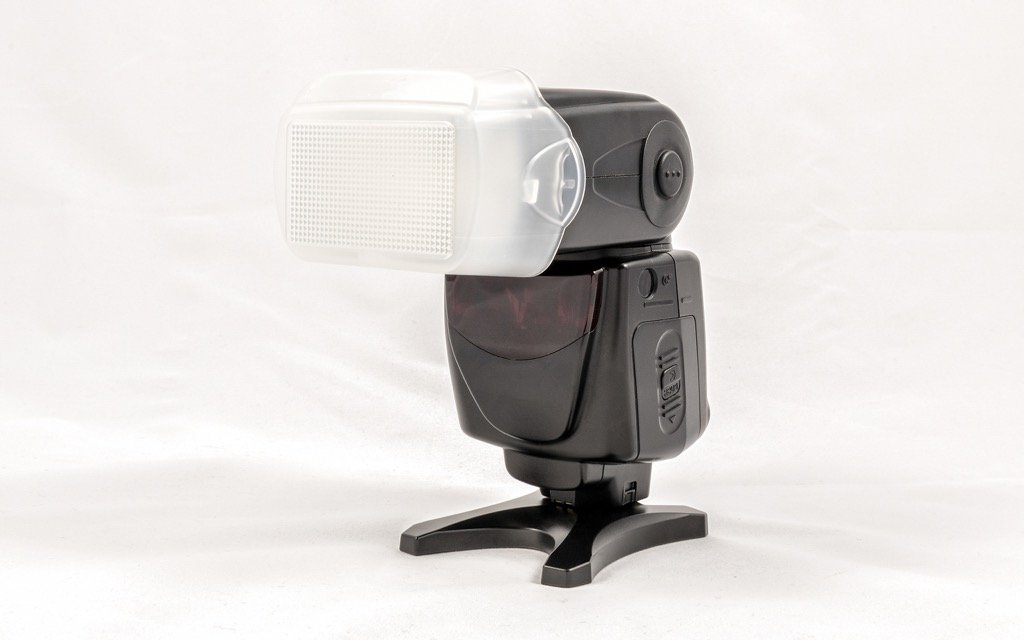
In order to prevent harsh shadows around your subject, you will need a flash diffuser to soften and even-out the light. There are a variety of flash diffusers on the market, starting around $10. Personally, I use a plastic diffuser because it is sturdy, and stays securely attached to the flash head.
4. Direct the Light
A flash diffuser will evenly spread out the light between your subject and their surroundings. Sometimes, though, you might want to have a certain amount of light on your subject, with the rest of the light on their surroundings.
In this situation, a bounce-card will come in handy, as it directs a certain percentage of light to sufficiently expose the surroundings, without creating harsh light on your subject.
You can also use a Snoot, a flash attachment which will direct the light even more precisely, producing a narrow circle of light on your subject. Snoots are often used in portrait photography and can create a very dramatic look.
5. Bounce the Flash
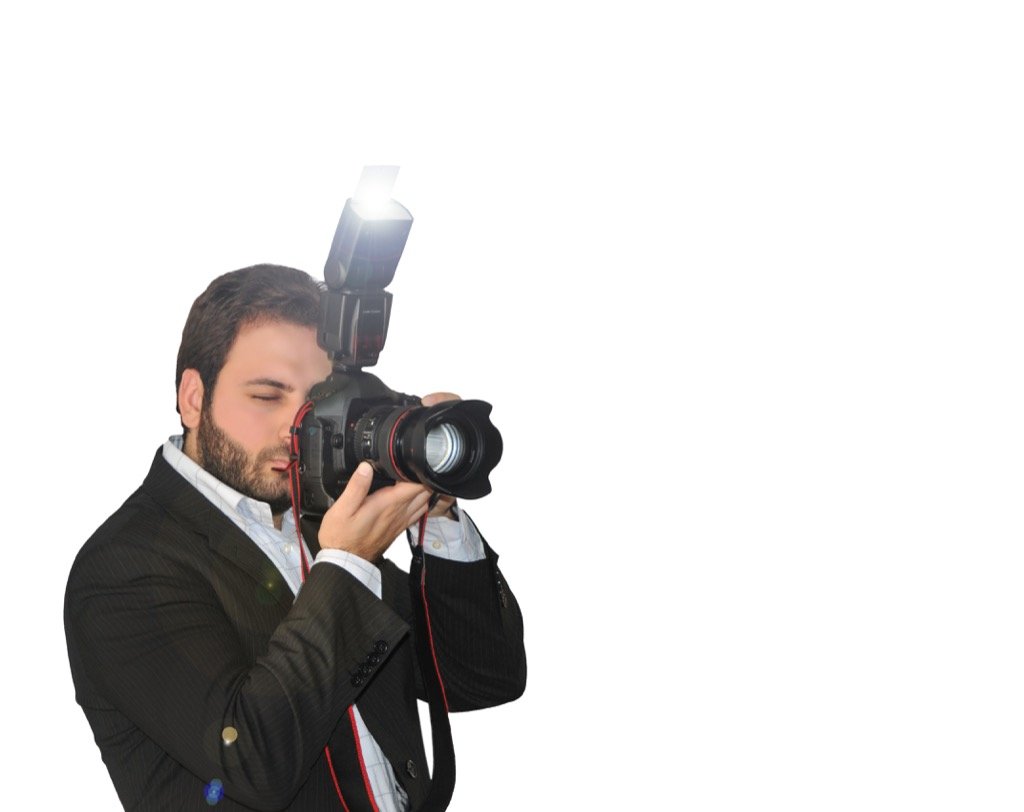
Now, if you find yourself in a situation where you don’t have ANY type of diffuser, try bouncing your flash off the ceiling, or wall by rotating your flash head (most flashes will allow you to turn the flash head in various directions).
Bouncing a flash is handy because it directs the light AWAY from your subject rather than directly on them, and the walls or ceilings can diffuse the light enough to light your subject and prevent shadows.
The one thing to keep in mind, though, is if the ceilings are too high and the your flash isn’t strong enough to compensate, you may not be able to get enough of a bounce to be effective. The light will just go straight up and never reach the ceiling!
6. Manual Mode
Once you feel like you have a grasp on TTL mode, try experimenting with manual mode. Set your flash all the way from full power (1/1) down to 1/64, just to see the variation of how much light your flash can produce. And then try experimenting with different lighting situations such as low light, ambient light, and even natural light. I look forward to hearing about your experiences!
Do you have any questions or comments about On-Camera Flash? Just leave us a comment below – we would LOVE to hear from you! And PLEASE SHARE this post using the social sharing buttons (we really appreciate it)!