


What is Aesthetic Photography and How to Use It
Have you ever wondered why some pictures get so many likes? Or why some landscape images are even more breathtaking than a beautiful portrait?
The answer is AESTHETIC PHOTOGRAPHY!
Aesthetic photography aims to capture beauty, but since beauty can be very subjective, it uses specific techniques and qualities that most people find appealing. Let’s find out how this works:
What is Aesthetic Photography?
Aesthetics is a branch of philosophy that studies and questions beauty and taste. While aesthetic photography is not about analyzing or challenging these concepts, it does intend to use certain aesthetic principles to capture beauty and create more visually appealing images.
Also, aesthetic photography aims to evoke a feeling in the viewer by connecting the viewer with the scene or the subject of the photograph.
Is Aesthetic Photography the same as Fine Art?
Art and aesthetics are often confused as the same thing, but they are not synonymous. Art is studied by the philosophy of art – which is a branch of aesthetics.
Fine art photography CAN use aesthetic principles, but it doesn’t necessarily try to achieve beauty. The goal of aesthetic photography, on the other hand, is to capture beautiful images.
Some photographs can be classified as fine art AND aesthetic photography, but they don’t have to be both. Each category exists in its own right and has different intentions.
For example, some landscape photographs follow the aesthetic principles and capture beauty – however – this alone doesn’t make it art. However, photographers like Ansel Adams and Michael Kenna have elevated landscape photography to the category of art.
As you can see, aesthetic photography and fine art photography can be related but are not the same.

How to Use Aesthetic Principles in Photography?
Some of the aesthetic principles are:
-
- Color
- Shape and Form
- Lines
- Textures
- Composition
So, let’s see how you can use these different principles to make aesthetic photography:

1. Color
You can use color in aesthetic photography in a few different ways. You can use a harmonic formula to create a visually pleasing image, and you can also use color to provoke an emotion.
Color has been widely studied in history. In 1666 Isaac Newton laid the foundations for color theory by dividing colors into primary, secondary, and tertiary. He then presented the first color wheel in 1704.
Today, we still use a color wheel to create combinations or formulas that make harmonic color palettes. Some standard color formulas are Monochromatic, Analogous, Complementary, etc.
Another field of study that aids aesthetic photography is color psychology. This refers to the way color can draw out emotion and affect human behavior. It started with Carl Jung but is based on a long history of color symbolism.
These theories are cultural and subjective but are still widely used in different ways around the world. For example, in Western cultures, we associate red with romantic love and passion, white is associated with purity, and so on.
Adobe Color is a great tool you can use for color aesthetics. With the color wheel, you can create color schemes using different formulas. And the Explore and Trend sections will allow you to create beautiful color palettes using concepts and other keywords.

2. Shape and Form
Shape and Form are concepts that can be confusing in photography because the main characteristic of a “shape” is that it’s two-dimensional while a “form” is three-dimensional.
What is the confusion? Well, no matter how it’s viewed (printed, on a screen, or otherwise), a photograph is essentially flat.
So, how can a photograph that is flat also be three-dimensional? It’s all about the IMPRESSION of a third dimension: depth.
The creation of shapes and forms in photography is achieved by adjusting the: Angle of View and Lighting. Let me explain how this works:

Angle of View
By changing the angle of view, you can turn a subject from a shape to a form (or vice-versa). Here’s an example:
Think about a cake – if you make a flat-lay photograph (shot from directly above), you will see a circle (shape) because you only see the top of the cake.
If you position the camera at a 45-degree angle instead, the same cake becomes a form because, in addition to the top of the cake, you will also now see the side, which introduces a third dimension: DEPTH.
As you can imagine, this concept can be applied to all subjects (including landscapes).

Light
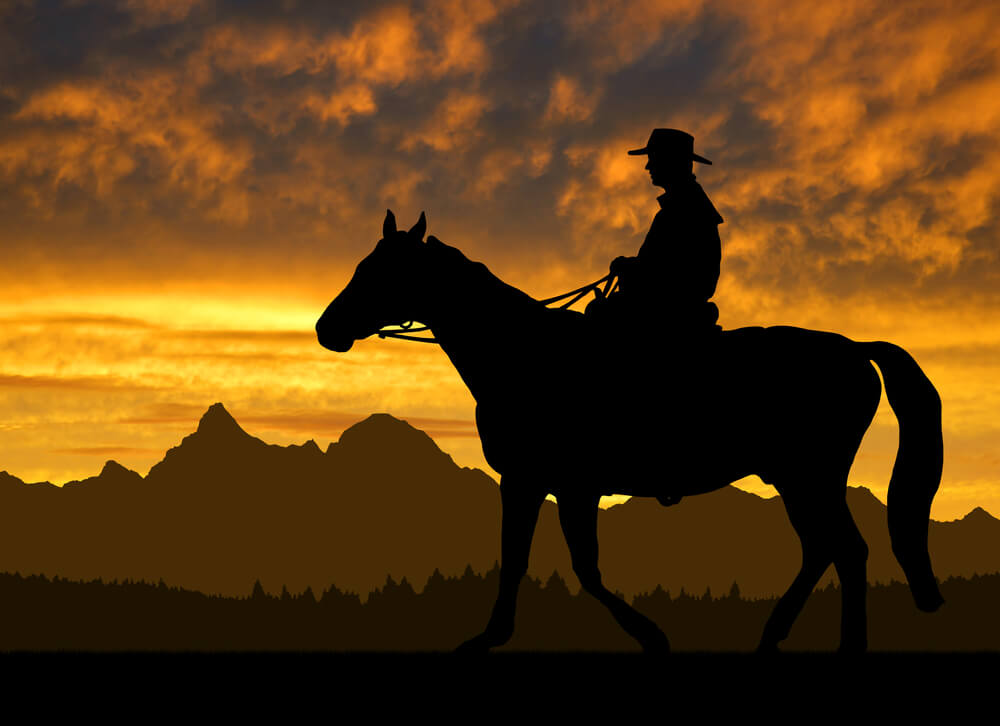
Now let’s see how light works in creating shapes and forms. Think about a portrait at sunset – if you add a fill-in flash or a continuous light to illuminate your subject – you will have a form (which is three-dimensional).
However, if you set the exposure to the sunset without an extra light for your subject, you will achieve a silhouette – which is a shape (two-dimensional).
Using these techniques, you can creatively use shapes and forms in your aesthetic photography.
3. Lines
Lines are extremely helpful in aesthetic photography because they create shapes and patterns and help you convey your image’s message by guiding the viewer’s eyes.
Here are some different ways to use lines when creating an aesthetic look:

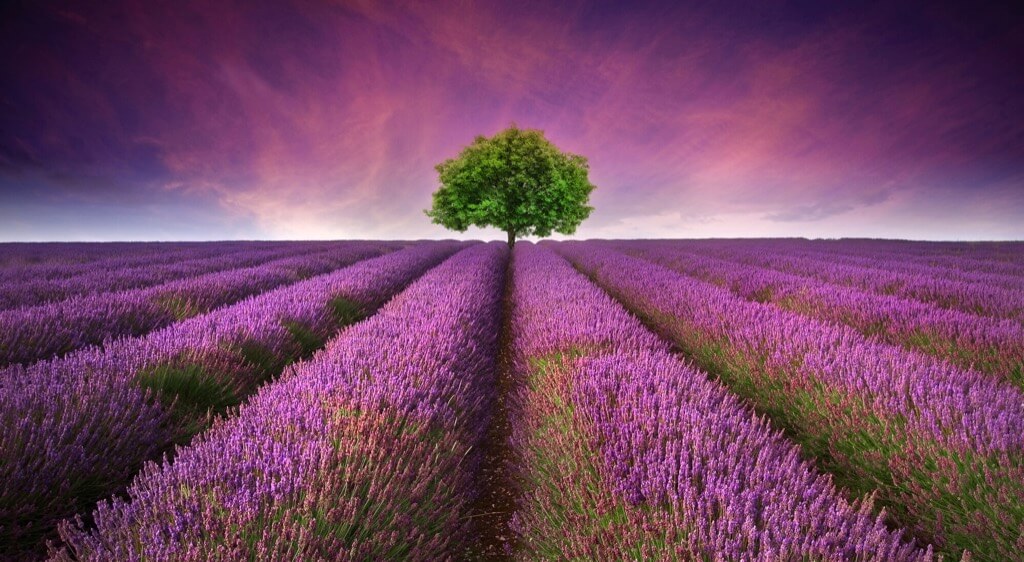
Converging Lines
During the fifteenth century, the idea of perspective was formally introduced in art. The primary technique used by Renaissance painters to introduce depth on a flat surface was by introducing a vanishing point. This is still done today.
The same technique is also used in photography. If you capture a tall building standing at ground level, you will notice how the vertical lines appear to converge towards the top – this is called vertical perspective.
The same convergence effect will occur if you stand in the middle of the road and take a photograph – the road’s edges seem to converge at a vanishing point.
You can use this in photography to introduce depth and “pull” the viewer into the frame.

Diagonal Lines
Diagonal lines serve to create tension in a scene or make the image more dynamic.
One of the most iconic uses of diagonals in photography is the use of the Dutch angle. To make a Dutch angle shot, you need to turn the camera on its axis, resulting in a tilted horizon.
You’ve probably seen this in movies, as cinematographers and photography directors use this technique often to make the viewer feel uneasy or indicate that something isn’t right.
Other ways to introduce diagonal lines in photography are converging lines, implied lines, or triangular shapes.

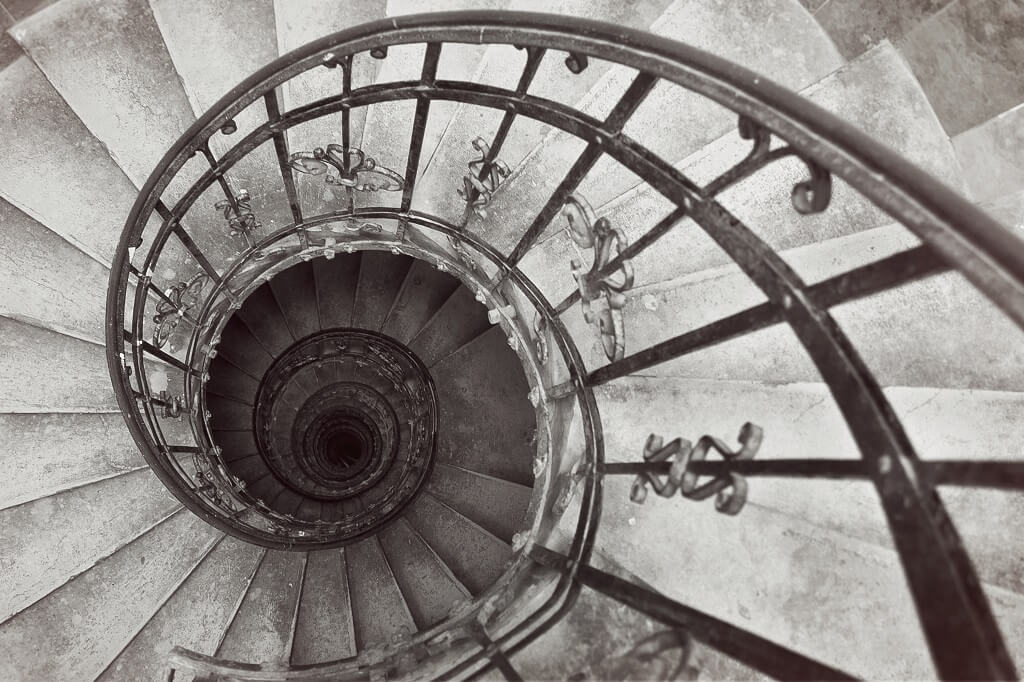
Curved Lines
Curved lines have the opposite effect of diagonal lines – they are calming and soothing. They are perfect for soft images because the lack of sharp angles makes them very delicate, and the eye glides smoothly through the image.
Curved lines are perfect for giving your images a timeless feel or making contemplative scenes. That’s why they are often used in aesthetic photography.
Leading Lines
Leading lines are used to guide the eye to specific elements in the picture. They can be physical or implied.
An example of physical leading lines could be a fence that “leads” your viewer’s eyes to a house or train tracks that lead your viewer’s eyes towards a train.
An example of implied leading lines could be a person pointing at an animal in the distance or looking at a boat sailing towards the horizon. These implied leading lines will draw the viewer’s gaze to whatever the subject is looking or pointing at.
Repeating Lines
Repetition is a powerful technique used in aesthetic photography. You can use repeating lines to create a pattern – which is something viewers are naturally drawn to. This is because our brains always seek to make sense of things, and patterns help organize multiple elements into a structured set.

4. Texture
The use of texture is a fantastic way to create aesthetic photography because it helps to engage other senses on top of sight – we can imagine how something feels.
Not only does texture give a tactile quality to our subjects, but it also adds depth to the photograph. And depth is important because it makes the image more exciting and detailed, which in turn helps the viewer engage better with the subject.

5. Composition
Composition is one of the most powerful storytelling tools a photographer can use. By changing the way you arrange the objects in your picture, you can completely change the message you are trying to convey. Plus, following some composition guidelines can make your images more engaging and aesthetically pleasing.
Here are some of the most popular composition techniques:

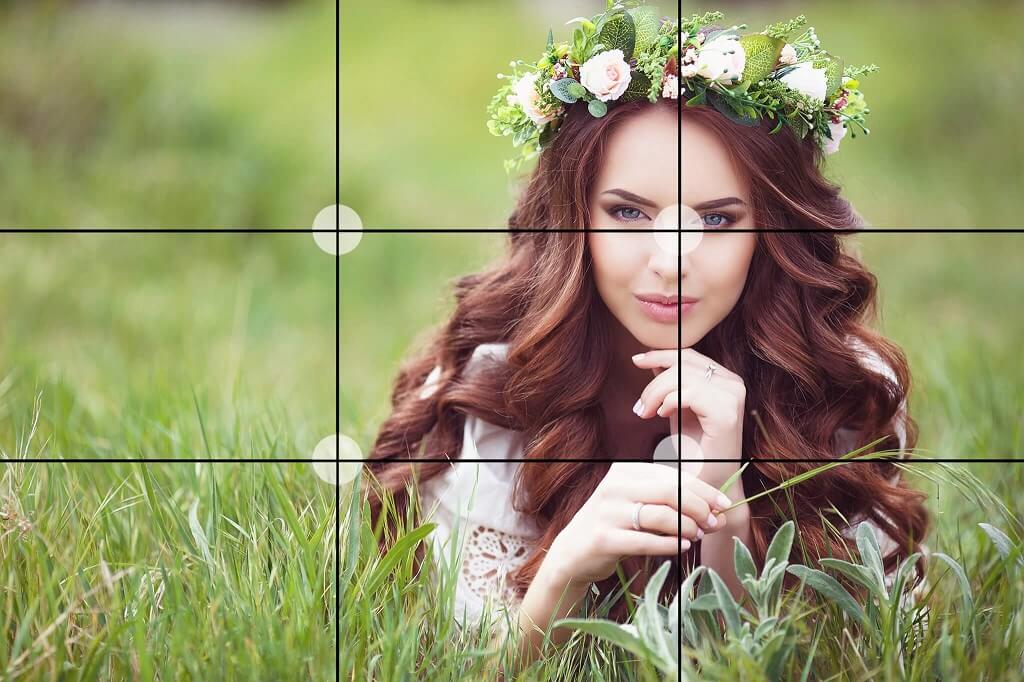
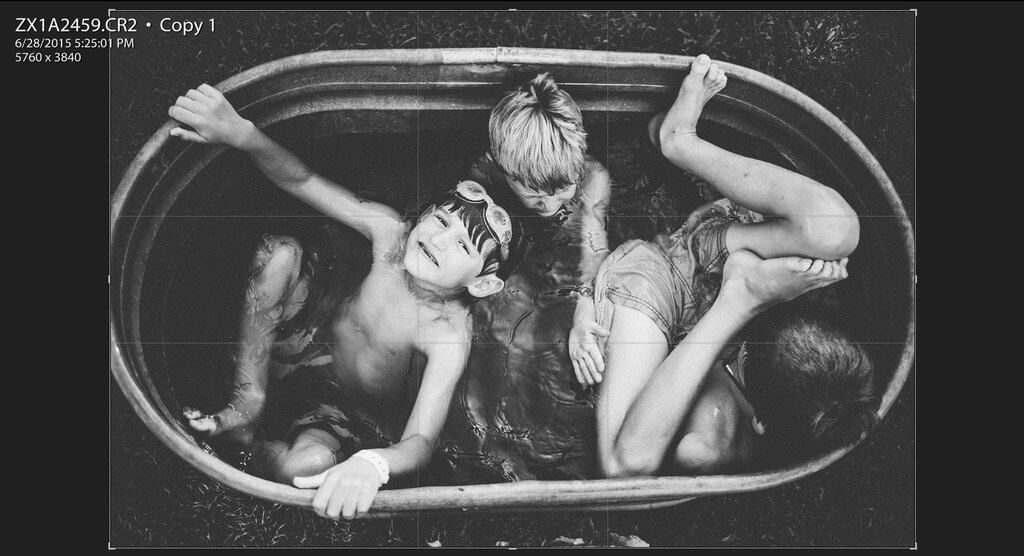
Composition Technique #1: Rule of Thirds
The rule of thirds is one of the most basic and popular composition guidelines. Most digital and smartphone cameras have an overlay grid that can be used to compose images according to the rule of thirds and help you take more aesthetically pleasing photos.
In short, the rule of thirds grid divides the frame into nine equal segments by drawing two vertical and two horizontal lines – like a tic tac toe board.
The idea behind the rule of thirds is to place the important elements of the picture along those lines, primarily at the intersections.
Composition Technique #2: The Phi Grid (or Golden Ratio)
The Phi Grid is the big brother of the rule of thirds. In this case, you also divide the frame into nine segments – but the segments aren’t the same size.
The lines are placed following what is known as the golden ratio. This mathematical theory, first theorized by Euclid and used in various arts for many centuries, creates proportions that are pleasing to the human eye.
The mathematical formula says that (a+b)/a = a + b. Visually, the middle sections of the Phi Grid are slimmer than the outer ones – therefore, the central section is the smallest.
To train your eye for this composition, you can use the crop tool in Photoshop to enable the composition overlay and set it to the Golden Ratio.
Composition Technique #3: Golden Triangles
The “golden triangles” is another composition technique that uses the golden ratio. As you can imagine – since we are talking about triangles – this composition is based on diagonal lines. As we discussed before, diagonal lines make your image more dynamic.
To form golden triangles, you need to trace an imaginary line from one corner to the opposite corner. Next, from one of the remaining corners, draw a line that intersects with the first diagonal creating a right angle – repeat the process of drawing the line from the remaining corner.
Now you have a series of lines and angles forming triangles that should guide where to place your subject.

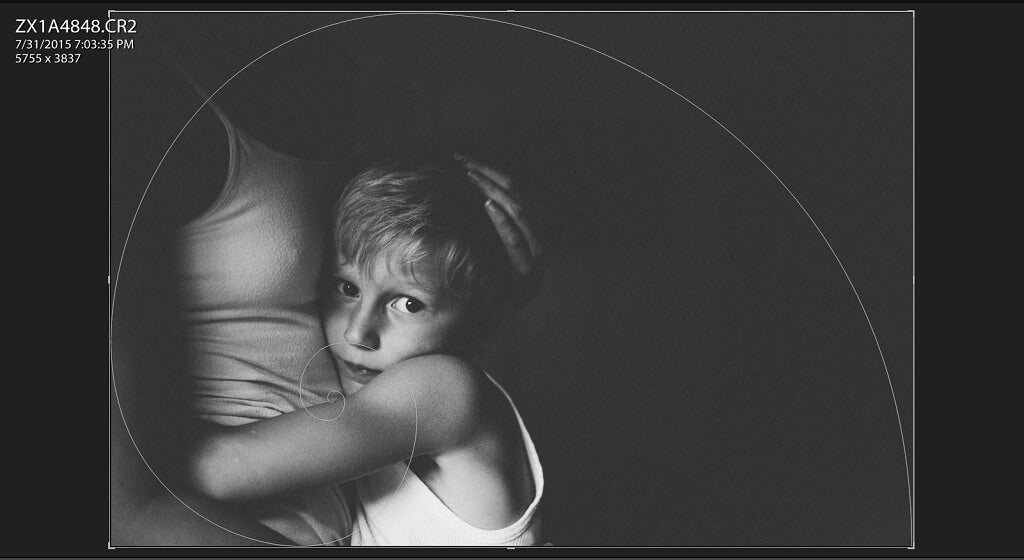
Composition Technique #4: Fibonacci Spiral
Another application for the golden ratio is the Fibonacci spiral. Using a series of rectangles that follow the Fibonacci sequence (based on the golden ratio formula), you will get a spiral that is also found in nature.
This is why we find it so pleasing to the eye. Some of the most popular subjects in nature that have the Fibonacci spiral are the seeds of a sunflower, a sea shell, or a wave.
To use the Fibonacci spiral in aesthetic photography, you need to follow the curved line and place your subject at the end of the spiral.
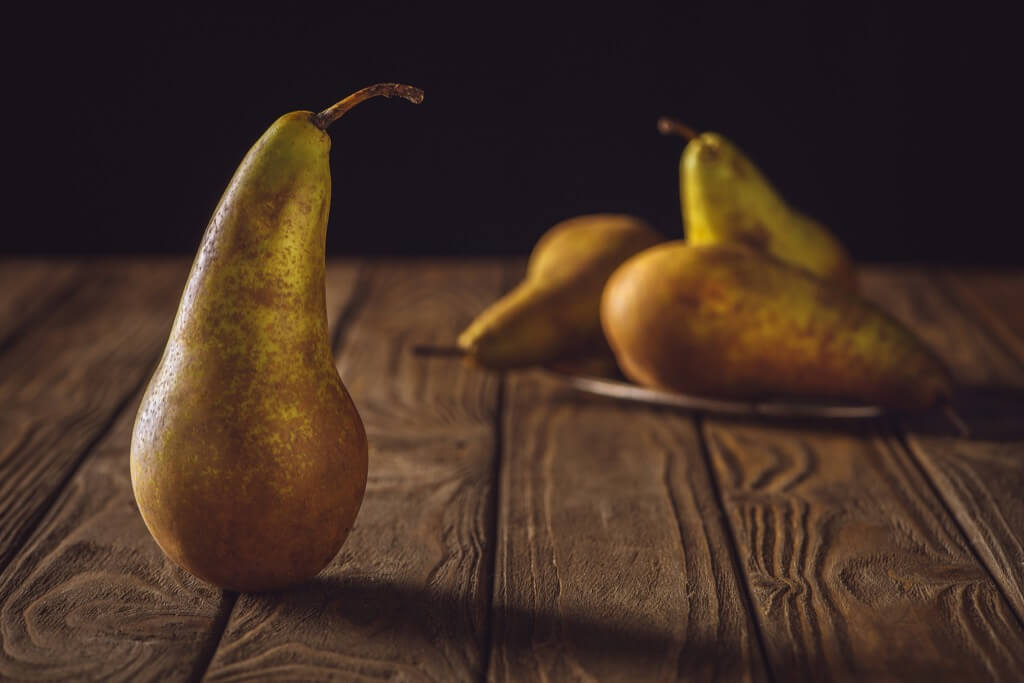
Composition Technique #5: Rule of Odds
The rule of odds indicates that whenever you capture a group of subjects, they should be organized in odd numbers.
This guideline is often used in food, product, and still life photography because you can single out an object as a focal point and have the others take a supporting role.
You can also apply the rule of odds to portraits – for example, a family portrait where there are two parents with two children. In this situation, ideally, you would pose the two children sitting down with one of the parents and the other parent standing up – or two parents with one kid and the other child playing next to them or running towards them. This way, you break the even number of four family members into three and one.
The theory behind this rule is that viewers find odd numbers more interesting. Our attention is divided between the two groups, and we spend more time analyzing and engaging with the image.
Aesthetic Photography – Final Thoughts
As you can see, aesthetic photography can use any type of subject, and the principles can be applied to all sorts of photographs – landscapes, portraits, editorial, lifestyle, still life, etc.
Now it’s your turn to experiment with some of these aesthetic photography principles and capture beauty in your own way. Keep in mind that you can combine multiple principles to get even better results!