

Photos are a big part of our everyday life and it’s easier than ever to take a professional quality image with cameras just about anyone can afford.
Quality photography has permeated our professional and business lives and it’s more important than ever before to take photos that attract your target audience.
Wouldn’t it be easier to shoot great photos if you also had a photography camera settings cheat sheet?
Many people are investing in DSLR cameras, but there are a lot of people out there that don’t know how to use them.
Even if they’ve figured out the basics and can use their cameras in auto mode, they are missing out on a lot of the opportunities their cameras are providing, especially different settings for specific areas like real estate photography, night photography, or street photography.
Learning more than the basics means you’ll make the most of your DSLR camera and get the result you want from your images, whether you specialize in wildlife photography or portrait photography.
Even those users who have taken some time to figure things out by taking a DSLR course or reading their camera manual find they are not ready to use the advanced features on their camera once they are in the field. They don’t have confidence in their knowledge and skills or they can’t get things right on the first pass, so they opt to change back to auto mode.
Here’s what will help these situations for people who want to apply the lessons they learn about their DSLR cameras: a cheat sheet.
A camera settings cheat sheet helps you remember what to do when you need it most: when you’re photographing you’re favorite things! You can refer to the cheat sheet and figure out what to do and when to do it without having to recall all the information you saw when you read your manual or watched a video or took a lesson.
Shooting Modes Camera Settings Cheat Sheet
DSLR cameras provide a lot of options for shooting modes. Here’s what
you should know:
Aperture Priority Mode
The aperture meters the scene and ensures correct shutter speed for a properly exposed image. You use it so you can control what’s in focus in front of and behind the photo’s subject. You can also use it to control the amount of the scene you’re getting in focus. The depth of field gets larger as you select a smaller aperture.
Shutter Priority Mode
This mode allows you to adjust shutter speed and the camera ensures you get a properly exposed image. It’s the shutter mode you should use when you’re shooting something in motion.
Manual Mode
This mode allows you to set both the aperture and shutter speed. This gives you full control over the exposure of the picture. It also allows you to do some creative effects with the exposure to create artistic images.
B Mode
B or bulb mode is for capturing images at night, fireworks, and anything that requires a slower shutter speed lot of light for a properly exposed image.
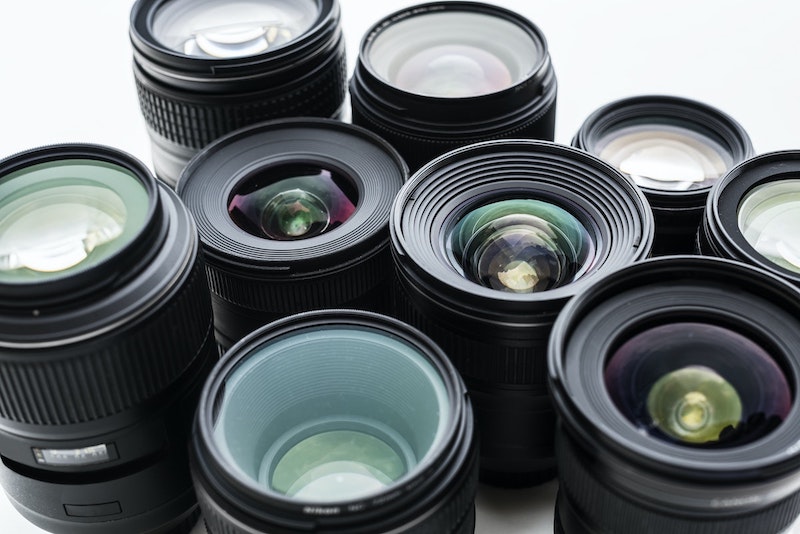
Focal Lengths Camera Settings Cheat Sheet

Focal length is used to determine how the camera records a scene.
Short focal lengths include the widest view of the scene. A wide-angle
lens has a short focal length and is available from 12mm to 35mm. Long focal
lengths magnify a scene and capture small parts of it.
How do you know which focal length to you? Check this out:
- Wide Angle (24 to 35mm): Large buildings, large groups of people, landscapes
- 50 mm: Buildings and people
- Medium Telephoto (85-100mm): Portraits
- Long Telephoto (150mm): Detailed photos, wildlife photography
- Macro: Close-up photography
What should you do after you’ve taken photos?
DSLR cameras take digital photos. You won’t have a roll of film and you need a place to store your photos until you print them or upload them to your computer. You also need to remove photos from your camera every so often or your camera’s memory fills up and you won’t be able to take any more photos without a new memory card.

Going step-by-step through this list after you’ve completed a photo session means your camera will be ready for the next shoot.
Download the Images
Once that’s complete, name each image with keywords that make it easy to find them later. You may also want to organize them into a file according to date, subject, or client name if you’re a professional. This makes it easier to find them later, especially after you’ve accumulated a lot of photos.
Make a Backup of the Images
Once you finished shooting, make a back up of your image files. If you do this right away, you never need to worry about losing images. This is especially important if you’re a professional photographer.
Shooting someone’s wedding photos only to have a problem with your computer after you’ve erased them from your memory card and you have no backup images of the once-in-a-lifetime moments. An external hard drive is all you need to back up images.
3. Reformat the memory card. You should do this on your camera, not on your computer. The camera has the correct algorithm for formatting the cards properly.
4. Next, you’ll want to:
- Set the ISO to its
lowest setting - Set White Balance to
Auto - Set Exposure
Compensation to 0 - Set the on-camera
flash to OFF - Set the camera
metering to Evaluative
5. Recharge all of your camera batteries.
6. Disable auto-exposure bracketing.
7. Clean the body of your camera with a soft cloth. It should be dry or slightly damp. This next to the last step is especially important if you’ve been at or near the beach where your camera was exposed to salty air.
8. Clean the lens(es) of your camera. A lens cleaning kit makes this easier and ensures your lens stays clean and gives you the best pictures.
Having a post-shoot routine protects your camera and extends its life. Following each step might seem as if it takes some time but once you get used to it you’ll move through it fairly quickly. You’ll be glad you did when your camera is all set to take out on the next shoot.